Speed Key Adjustment Procedures
Over the past 115 years there have been large numbers of different type Speed Keys available. Some of them are more difficult to adjust for perfect code with a 3 to 1 dot/dash ratio. But most share the basically the same senario of adjustments-- (Except for the Vibroplex Model X-- The Model X key can be very difficult to adjust due it uses the same contact for both dots and dashes}. The first speed key I tried adjusting took what seemed like forever until I had it making reasonably decent code. But after using speed keys since the 1950's, I can now adjust a speed key for perfect code just by watching and listening to the make and break of the dot contacts. The secret to adjusting speed keys for perfect code is to place an Analog VOM (on Ohms X1 scale) across keys wire nuts and adjust the spacing of the dot contact for a 50% deflection of the Analog VOM while making dots. It has to be an Analog VOM using the X1 ohms scale.. (Not a digital VOM). It will take tweaking of the adjustable dot contact and the keys left stop screw to find the perfect spacing for the dot contacts with a 50% deflection of the VOM. And that the dots produced are an almost endless stream of dots. But keep in mind, some keys with weak main springs might only be able to produce 8 or 9 dots. Keys with very robust main springs will be able to make an almost endless stream of dots. And you will also tweak the dot side coil spring tension so the dot arm dosnt hit the damper with too much force. Anything you place on the dot arm to slow the key down has to be very rigid and secure or it will fowl up the production of dots.
If you have purchased an old speed key, it will need to be completely torn apart and all the rust and corrosion removed from all the piece parts.. especially the screws that hold it togther. So that they key has perfect zero ohms continuity from both the dot and dash contacts over to the wire nuts. The basic proceedure with an older key is to completely disassemble it--- and clean the flop sweat off all of the piece parts using a wire brush. The old keys have rust and corrosion on all the screws and piece parts--- which has to be cleaned off. So that there is perfect zero ohms continuity from the dot and dash contacts over to the wire nuts. Then once the key is perfectly clean, set the keys right stop screw so that the dot arm just barely touches the damper wheel. Use the very minimum dot coil spring tension so that the dot arm dosnt hit the damper with too much force. Using the least amount of spring tension possible that allows the key to function. If the dot arm hits the damper wheel with too much force, it will force the dot arm back onto itself--- which causes dot stutter. {On some keys that are difficult to adjust, I've had to place 3m double backed tape around the damper wheel). So that all the dampening of the dot arm takes place on the 3M double backed tape. Placing talcum powder on the surface of the tape to keep it from sticking to the dot arm. Then adjust the left side stop screw so that the dot arm travels less than 1/8" towards the left. You will fine tune the travel of the dot arm to the left later with the VOM across the dot contacts.. providing 50% deflection of the VOM on lowest Ohms scale. That will set the perfect 3 to 1 dot ratio. Then adj the Dash contact spacing for about the same as the dot contact spacing. All keys are different in adjustments due to the wide variation of the main springs used. Some main springs are very short and sturdy-- like on one of the fastest speed key ever--- which is the Bunnell J36 WW2 speed key. While some of the older keys have very long weak main springs - which causes them to be more difficult to adjust for perfect code. It wasnt until about 1914 that Vibroplex finally got the length of the main springs correct. The keys with long main springs can be adjusted for decent code but the adjustments can be more critical and take more time and effort.
Below is a picture of a Ted McElroy's Radio Telegraph Apparatus speed key made in Boston Mass. It was commonly called the Stream Key due to its shape. When Ted sold his key company to the Telegraph Apparatus Company in Chicago, Ill. it became known as the TAC Key. When Ted made the key in Boston, he provided this key with braid to ground from both the dash lever and the dot arm. Which allowed for perfect continuity from the keys dot and dash contacts over to the Wire Nuts. Otherwise the current flow from the keys contacts had to go through the keys pivots. But later, the TAC company in Chicago dropped the braid to ground on their keys to save costs-- which was a huge mistake. All telegraph speed keys should have been provided with braid to ground like Ted provided on this Stream Key. It produces excellent code over a wide speed range. This particular key has never been abused in anyway and is in like new condition with all the original piece parts. The 2nd picture shows the braid to ground from the dot pendulum and dash arm. Without the braid to ground, the current flow from the dot and dash contacts has to flow through the keys pivots.. and on modern solid state transceivers-- it only requires a few miliampers of current flow. Back in the days of old land lines and old tube transmitters, large amounts of current flowed through the pivots..--- which helped keep the resistance path open. Modern solid state rigs have no tolerance for anything except perfect zero ohms from the keys contacts. Thats why its important to provide the braid to ground from both the dot and dash arm. In place of Braid, I've used 30 gauge wire by coiling it up on a nail. The Vibroplex Deluxe jeweled bearing keys come with braid to ground. On some keys, I've even placed 30 gauge wire directly from the dot and dash arm channeled through a hole in the base directly over to the keys ground wire nut.


Below is a picture of a very early 1905 Horace Martin Vibroplex in the first year of production (Serial #749). Its in very good condition for being 115 yrs old and has the original small Dot Contact Assembly. Its in excellent condiiton and has no indication of having been used commercially. And apparently kept in someones personal collection all these years. The first keys Horace produced had a long screw adjustment across the bottom of the damper assembly that allows the articulated damper to be moved left or right as needed. That feature was only available in the early production models. In this picture--- take a look at how long the main spring is.. compared to pictures of the keys made after 1914. It makes excellent code but in the first years of production --Martin used exta long main springs. He didnt reduce the length of the main springs till around 1913. The later keys with the shorter main springs could be more easily adjusted for higher speed code. The longer main springs cause the key to be more difficult to dampen the dot arm. The damper wheel immediatley stops the motion of the dot arm after making a series of dots.. which is a very important key adjustment -- otherwise the key could produce dot stutter--- (if it bounces back onto itself}. Usually on these 100 year old keys, the U shaped dot contact assembly was replaced due to wear of the contacts on commercial landline circuits. On some keys I've had to place 3M double backed tape around the damper wheel-- so that all the dampening takes place on the 3M tape. Just use some talcum powder on the exposed 3m tape to remove its sticky surface that hits the dot arm.

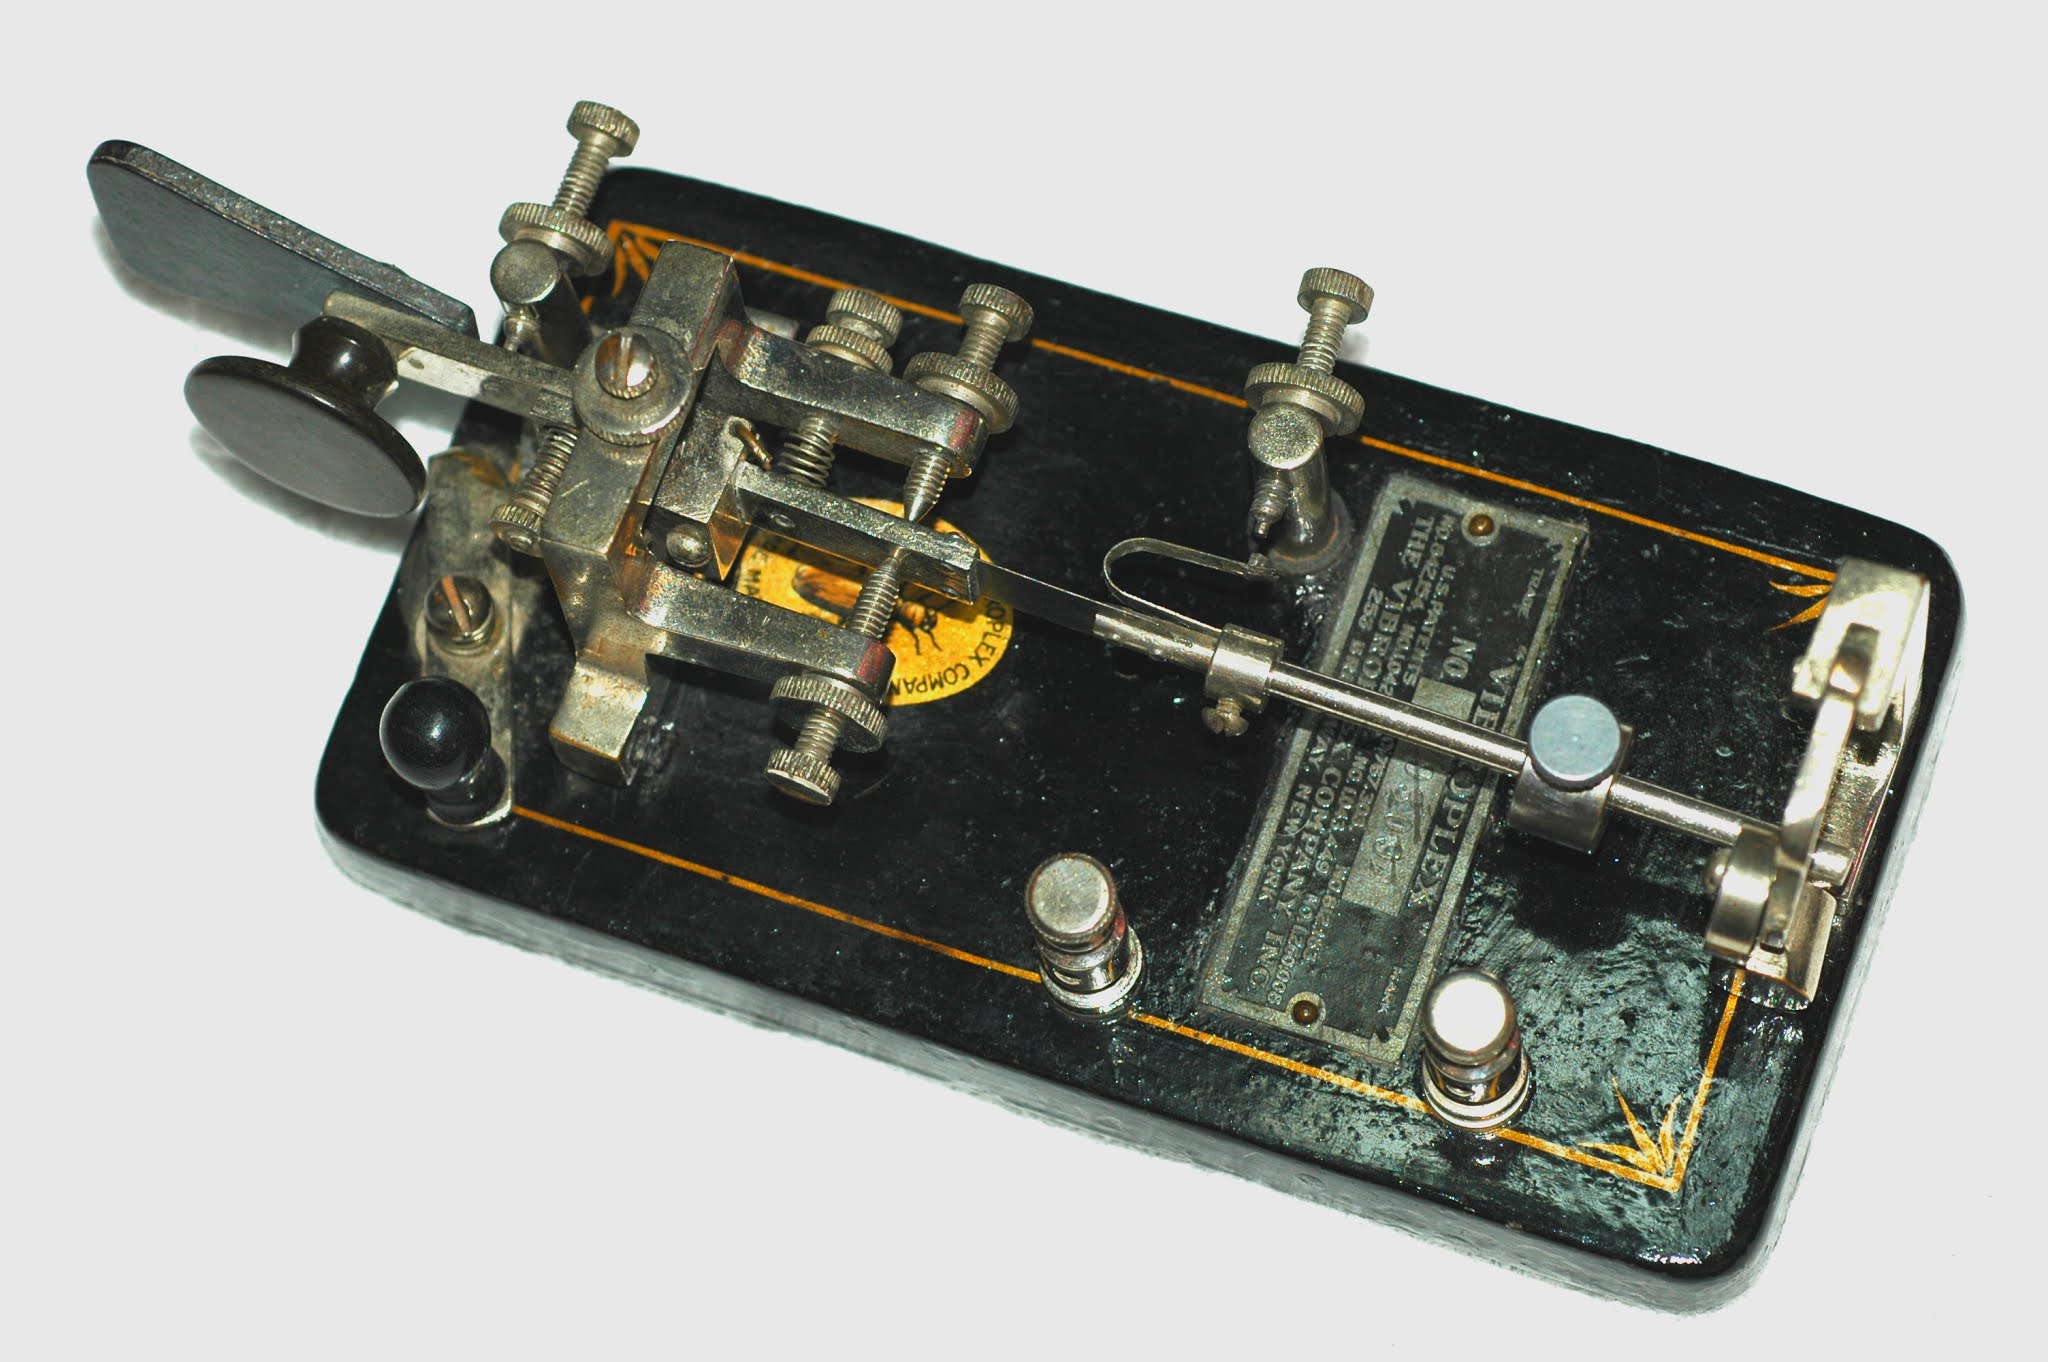
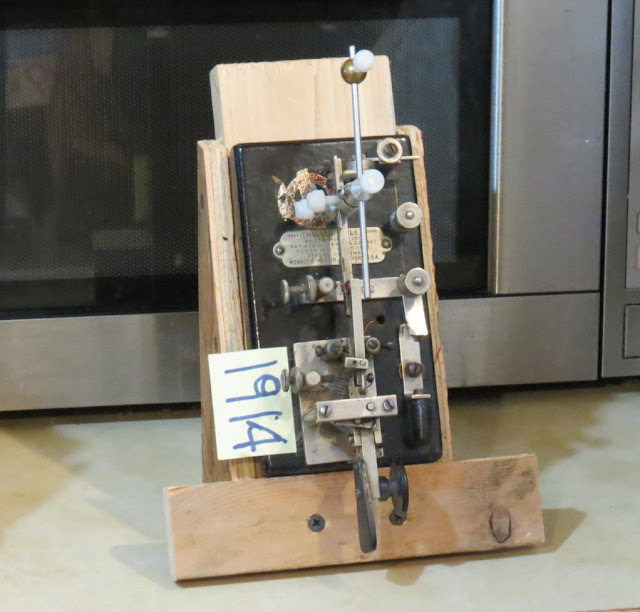
Below is a picture of an A to Z Electric Novelty Speed Key serial #5330-- which was made around 1914 time frame. It was a violation of Horace Martins Patent and illegal to use commercially unless the name plate was removed and a new name plate purchased from Horace Martin. This key has the original A to Z name plate as shown in the 2nd picture.. and it shows no signs it was ever used. The copper plated base is in great condition for such an old key. It produces decent code. The picture dosnt show it but the base on it is very thick and heavy. Much heavier than a Vibroplex. But you can see that the main spring was much longer than it should have been--- which causes it to be more fickle to adjust for best code.


And here is a 1962 Vibroplex Gold Plated Presentation. The early Presentations made after WW2 are one of the best keys ever made-- with their adjustable main spring held in place with 2 screws. I always use the adjustable main spring in the shortest position for best quallity dots. If you slide the main spring further out, it will cause the dot arm to flop around too much on the damper wheel-- which can cause dot stutter.. This key makes such high quality code that its untold from machine generated and embarrassing to use on the ham bands-- As no one believes that I'm using a speed key!! I prefer this early version over the later production Presentations. The first thing they changed was they only used one screw to hold the adj main spring in place.. and finally they dropped the adjustable main spring. The first speed key I ever purchased in the 1950's was a used Les Logan 515 for $3.50.. I wasnt all that happy with how it produced code.. so then I purchased a new 1959 Vibroplex gold plated Presentation. But it seemed like forever until I finally figured out how to ajdust it for best code.. due to how the adjustments interact. But while testing the key on 20M CW.. a station with the call sign RAEM kept answering my CQ.. I ignored the station due to the strange call sign.. but finally I asked him about his call sign. And thats when he told me he was a Russian military Hero who was given the call sign he used when he saved a large number of people stranded on an Iceberg ---by sending the distress message== and they awarded him the call sign RAEM for life. The Russians have a yearly CW contest in his honor, The RAEM contest. Later when I joined the Navy in the 1960's, I passed the Navy speed key test by sending code at over 20 wpm for 10 min with no errors using the Presentation. But I never used the Presentation on Naval circuits due we would have to send as slow as 10wpm at times.. so I took the old Les Logan 515 and cut the dot arm off and used it as a keying paddle for a transister multi-vibrator keyer -- which I built on the rear of the key. It was battery operated with a relay output to key the Navy 250V tube cathodes on KW transmitters. I used it during the 4 yrs while aboard ship in the Navy. But when I got out of the Navy, I threw the electronic key in the trash and sold the Vibro Presentation to an FBI agent.. In those days -- FBI agents had to use morse code as a requirement. But it wasnt till many years later that I started to collect all different kinds of old telegraph keys-- until today I have a huge collection of all types of hand keys and speed keys.


Years ago, I purchased a package of five 100 year old speed keys from a pawn shop in NewYork but I've only put one of them into working condition so far. With the old worn out keys --you have to completely tear them apart.. clean all the rust and flop sweat off all the parts using a wire brush etc.. Most of those old keys were painted black.. and most require new paint around the edges... due the edges took a beating while being moved around on the operating position. What I've done in the past is clean the outside edges of the base with steel wool, then re-paint the edges with Satin Black Enamel. Once all the piece parts are clean and assembled ----- its faily easy to adjust it for proper code. You set the right and left stop screws so that the dot arm at idle is just touching the damper wheel. Then set the travel of the dot arm for about 1/8" of travel to the fixed dot contact. You will fine tune it using an analog VOM on the ohms scale for 50% delection while making dots. Which produces the proper 3 to 1 dot ratio required. You have to use an analog VOM... a digital VOM cant be used.. analog VOM's are still available for a low cost. I like to set the dash contact spacing as close as possible for sending high speed CW.. but if your just learning to send code, use a contact spacing for the dash with the same gap as used for the Dots. Set the dot side spring tension so that the dot arm dosnt hit the damper with too much force. Adjusting the dot arm to hit the damper without too much force is a critical adjustment ---and it will take a new user some experimenting to find the best settings for a proper 3 to 1 dot ratio--- without the dot arm hitting damper with so much force --that its forced back on itself---- Which will cause dot stutter..I've adjusted such large numbers of speed keys of all types and ages, that I can take any old speed key and have it producing high quality code in no time--- but each key has its quirks to overcome. Such as a weak main spring. Some of the keys I've come across can barely make 5 or 6 dots in a row.. they had such weak main springs. The worst weakest main spring I ever came across was on an old 1946 EF Johnson Speed-X key--- It was capable of producing only 5 or 6 dots ---but just barely. EF Johnson bought the Speed X brand from Les Logan after WW2 and it was all downhill after that. All of the Les Logan speed keys I've tested have excellent main springs. The only thing I've had to change on the Les Logan speed keys was reduce the number of rubber feet from 4 to 3. The 3 feet on the base of the speed keys are self leveling and prevent base wobble--so all of the Les Logan keys in my collection have been changed to 3 feet.. Its not difficult to remove the 2 rear feet and replace them with one foot in rear center. Using rubber feet that have stick on glue. Then the key is self leveling. Something else Les Logan did to reduce the cost of making his Speed X keys was he used Pot Metal for the main frame casting -- rather than use decent brass castings like on Vibroplex keys. The pot metal main frame castings can break easily if the key is dropped. Like what happened to me on a Les Logan Deluxe 501 speed key. I was able to fix it by using Super Glue to glue the main frame back in operating condition. Another thing that causes problems with the pot metal main frame is the adjustment screws can seize up in the pot metal.. so its best to remove them and place some anti-seize lubricate on the threads. Below is picture of an early Les Logan Deluxe 501.. Its one of the very early 501's that had serial numbers.. The very first Les Logan 501's with the serial numbers had solid silver contacts.. But after he dropped the serial numbers ---they used some sort of alloy for the contacts. Which was a cost saving idea but dosnt help to make proper code with the goofy alloy contacts. Here is the pictue of the one in my collection with the serial numbers and solid silver contacts.